
Back In The Day...
When I started teaching (back in the dark ages of the 70s) we would often create our own bulletin boards by using an opaque projector and a cute graphic from something like a coloring book or a greeting card.

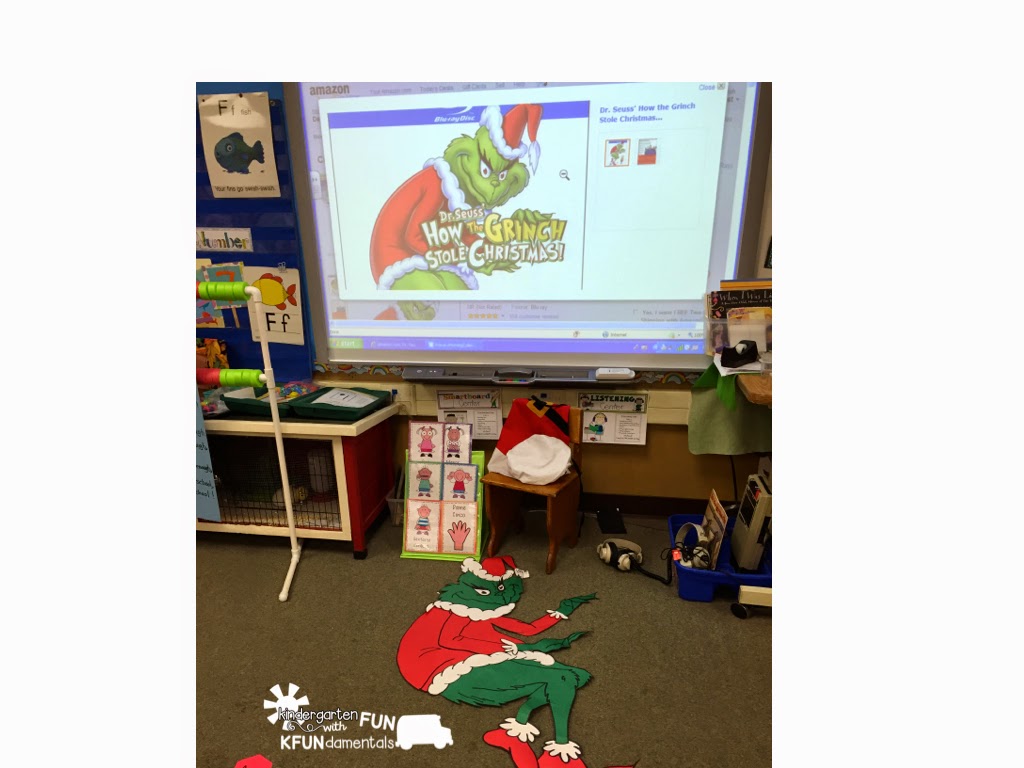
Fast forward to 2014: I needed a huge Grinch, so I Googled it and found the perfect image.
 |
| You can see the original image on my SMART board. |
I put it up on my SMART Board and started by placing colored paper over each part and tracing them.
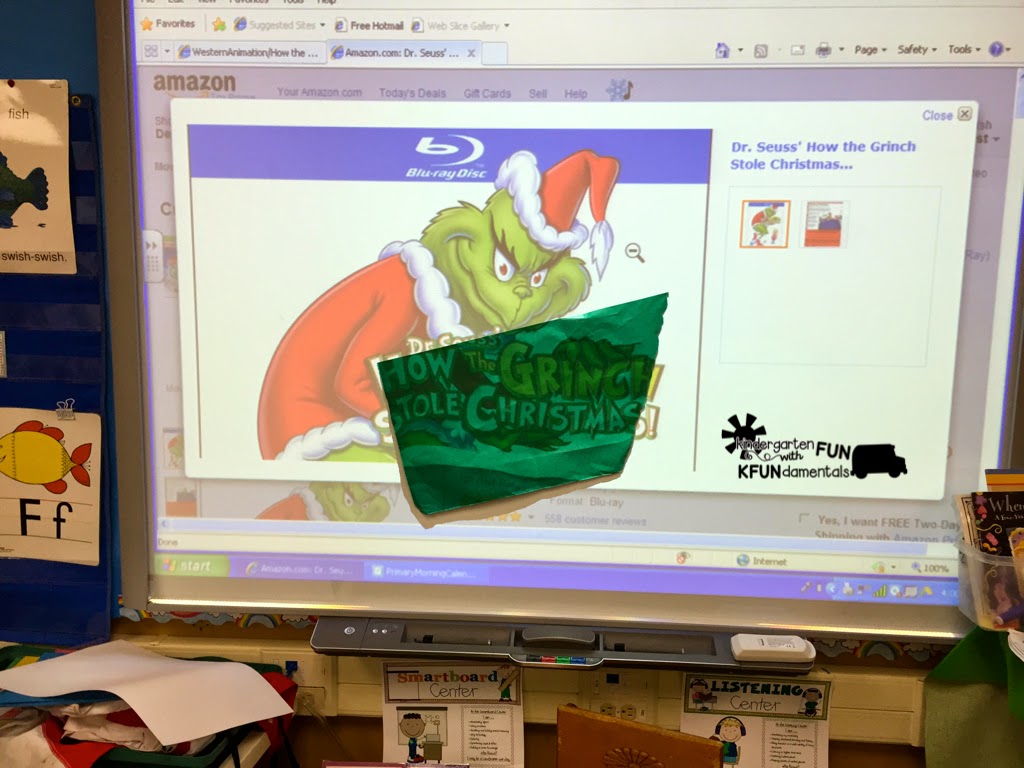 |
| This piece was used to trace the green hands. I trace with pencil because a marking pen can penetrate through the paper and ruin you SMART board. |
After I outlined them all with a wide tip marker, I cut and pasted them into this creation.
I laminated the entire Grinch onto black butcher paper and now he will last longer than I will!

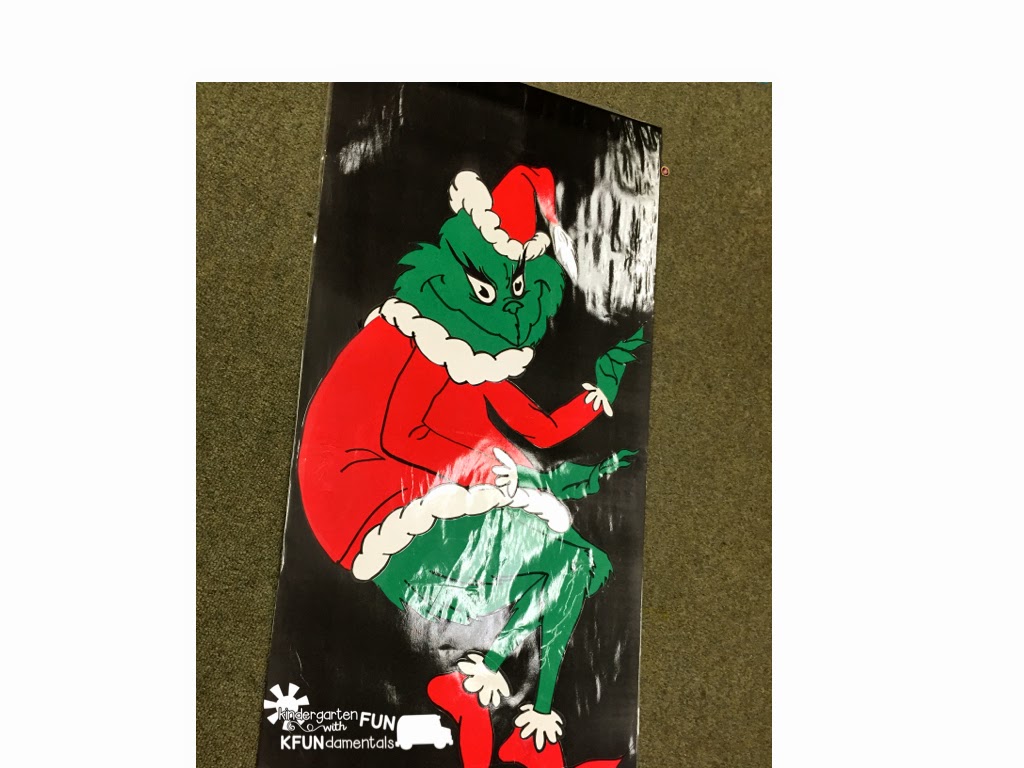 |
| All done! |
After I took photos of the kids dressed up in front of the Grinch (wearing an outfit representing their favorite holiday character: an elf, a gingerbread cookie, a snowman, or a reindeer) I took my Grinch home. The plan was to have him look as if he is stealing the lights off of our house:
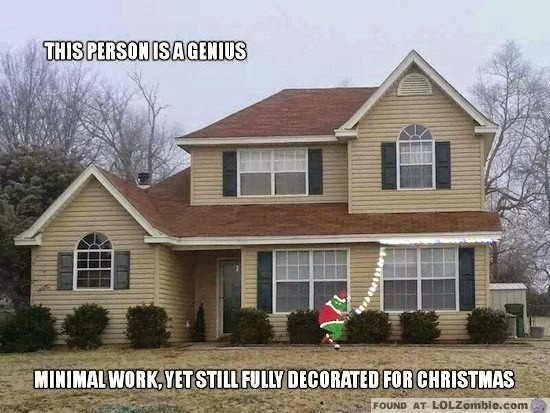 |
| Image is from LOLZombie.com. |
Students had to tell me why they chose their character. This promoted oral language skills (using a complete sentence) and was the prompt for our opinion writing.
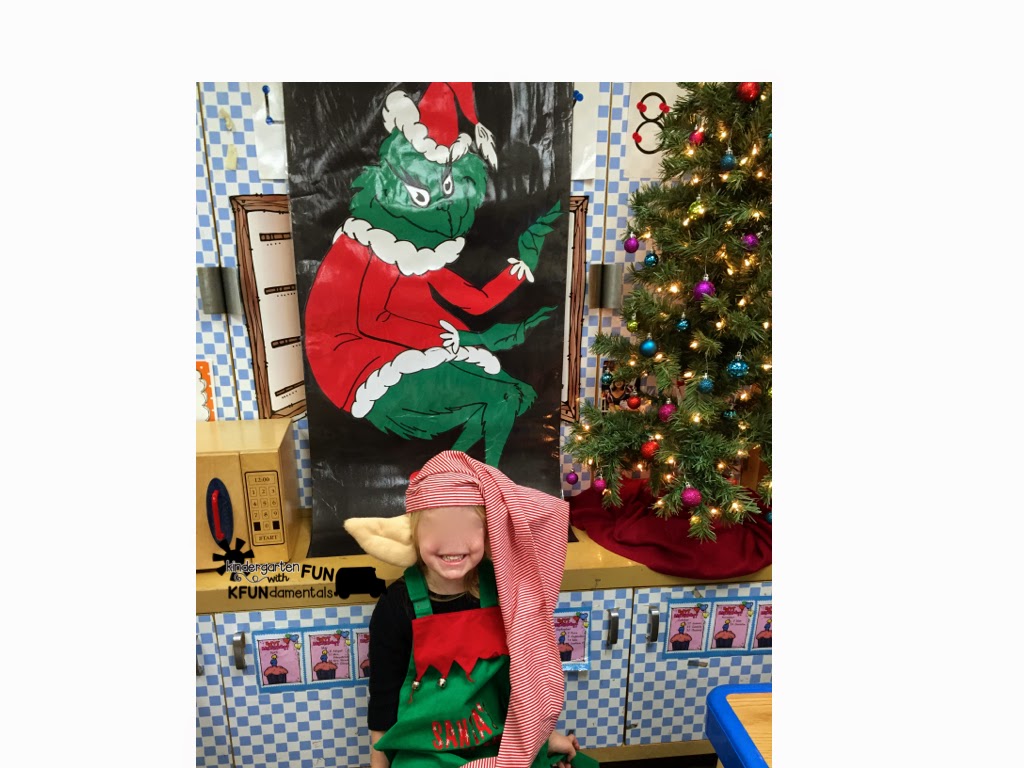 |
| "I want to be an elf so I can play with toys all day." |
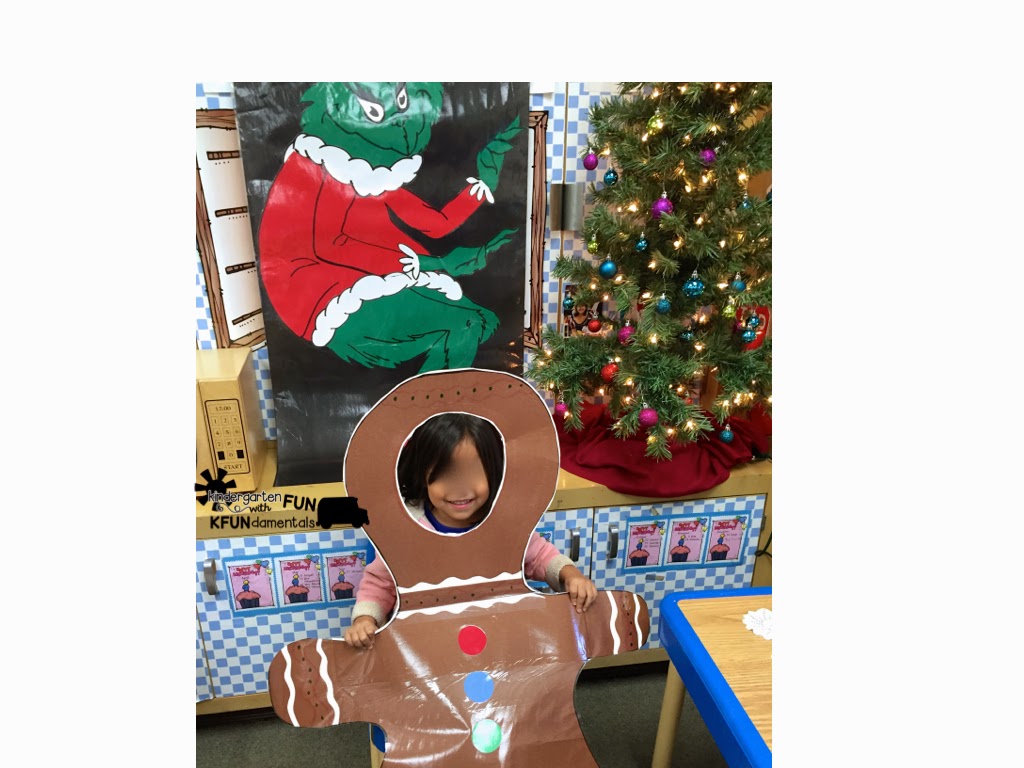 |
| "I want to be a gingerbread cookie so I can get all decorated." |
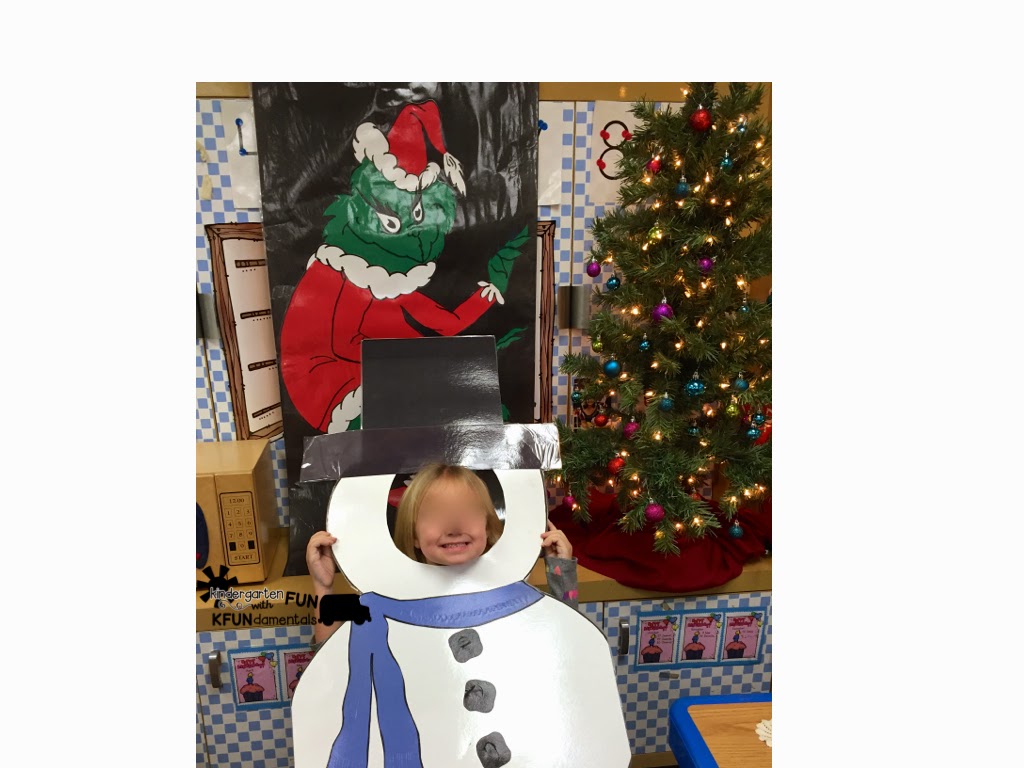 |
| "I want to be a snowman so I can play with Olaf." |
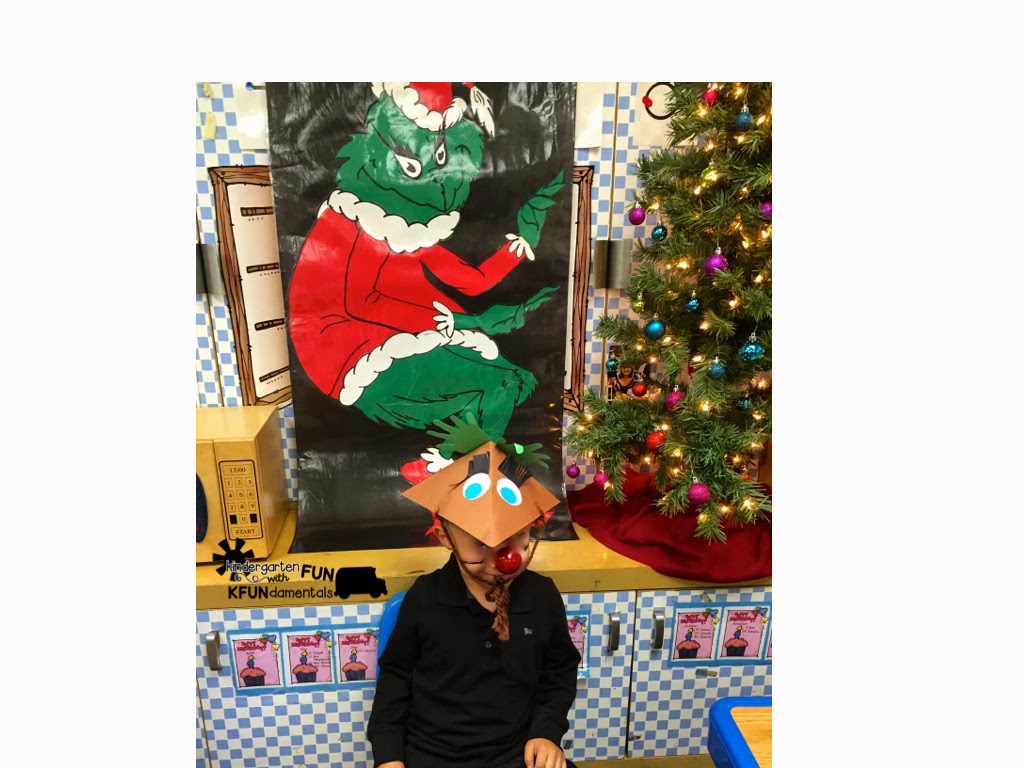 |
| "I want to be a reindeer so I can fly!" |
We graphed the results using these icons: (on sale right now!)
 |
| Click the image. |
Here Is Your Bulletin Board Tip:
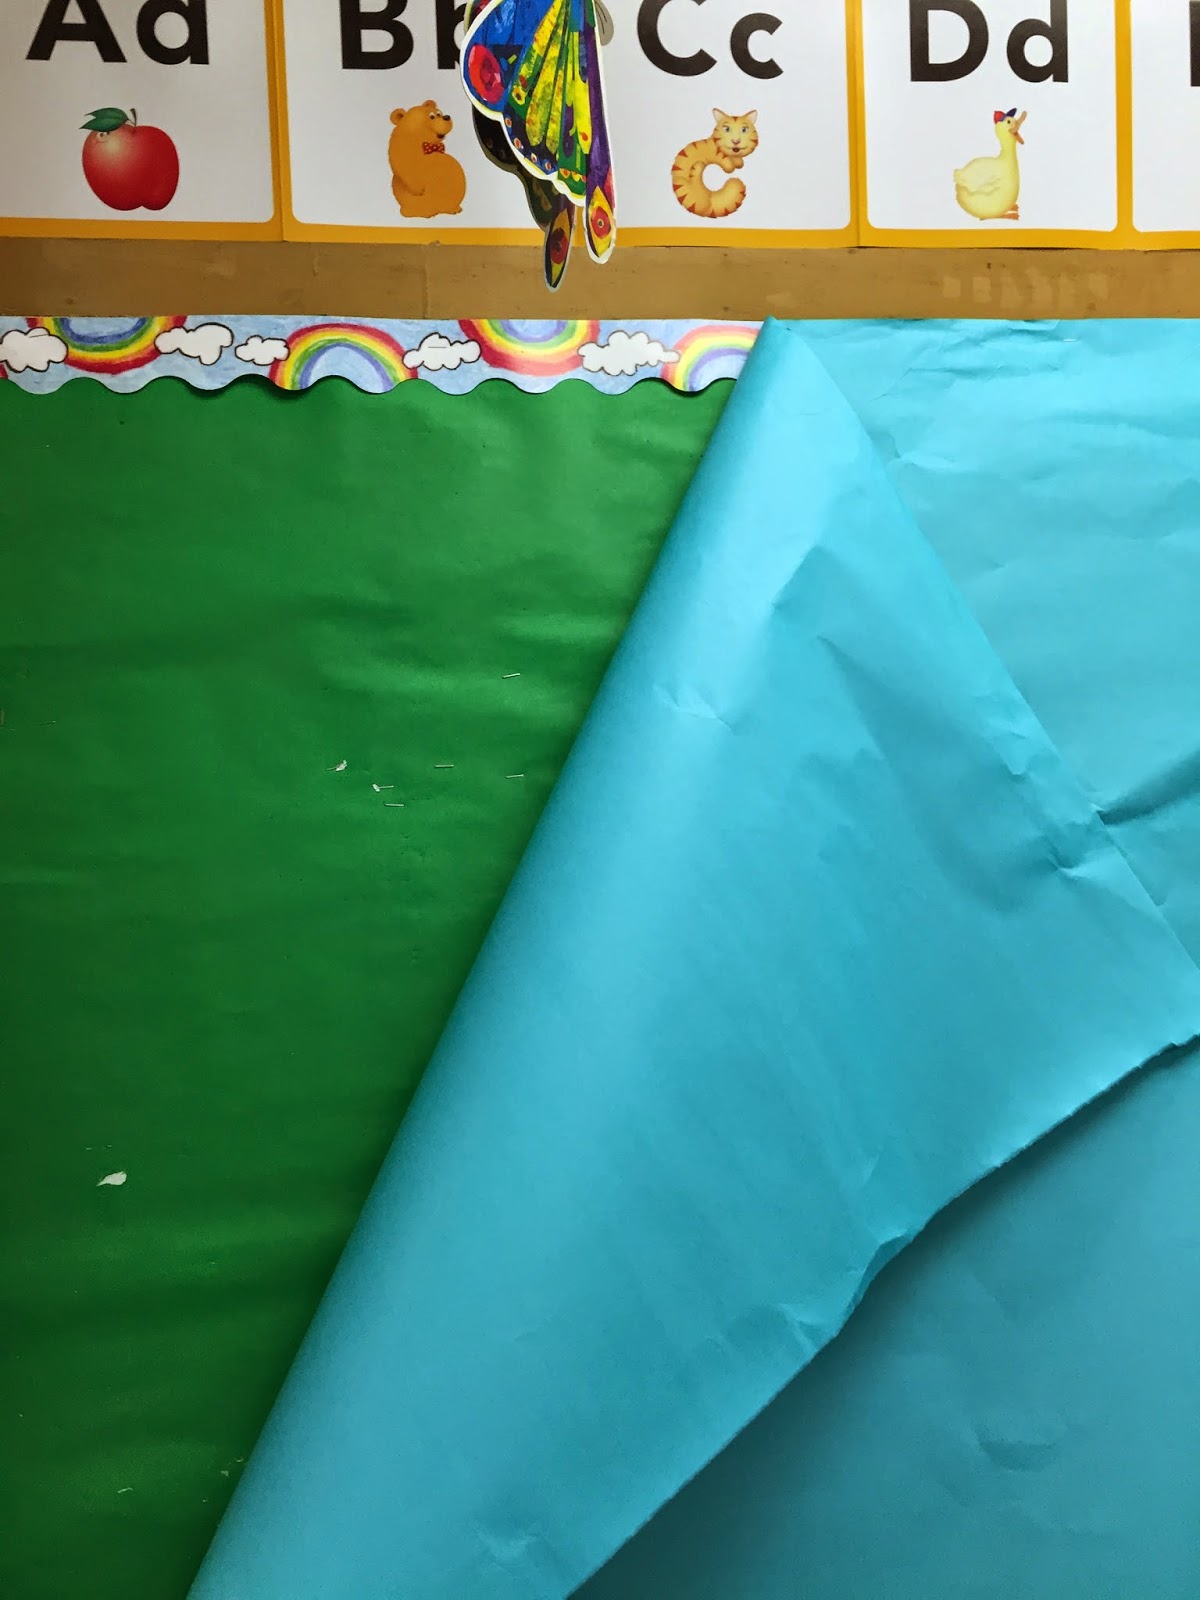 |
| Sometimes I even cover over the trim! |
I layer the background paper onto my bulletin boards. I start the year with one color, like green. When I want to change the color, I layer the new color on top of the old one. Then, later in the year, I just have to remove the top paper and I can go back to the original color without having to cut and apply new paper. Saves paper, saves time! Win, win!!!


0 comments:
Post a Comment